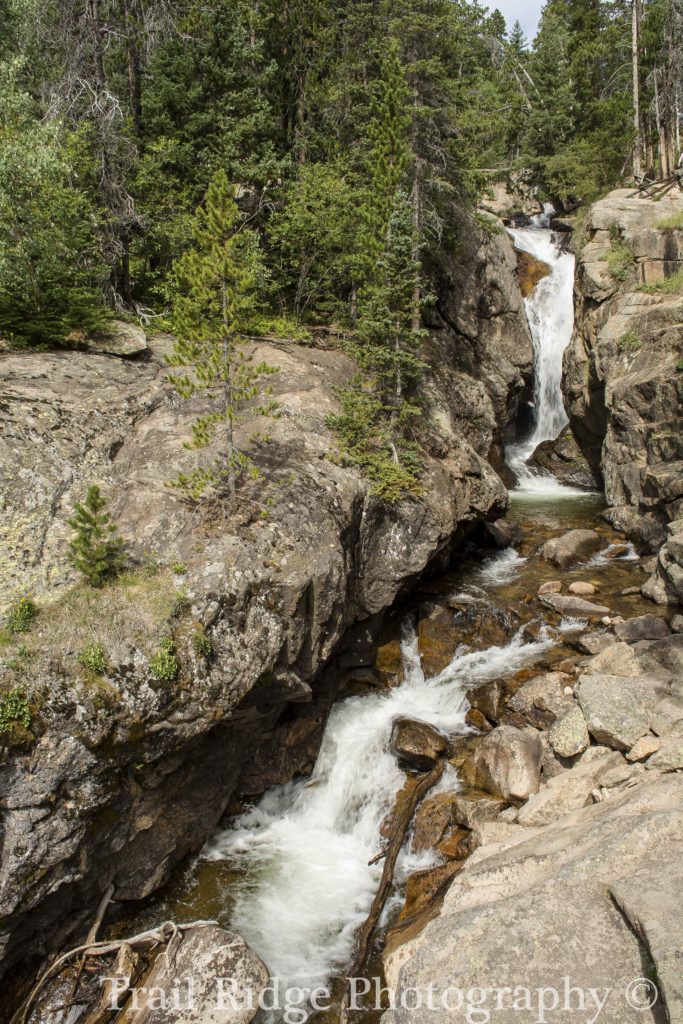
Rocky Mountain National Park has a wealth of waterfalls and cascades to photograph. There are dozens of streams, river, and tributaries throughout the park. It is simply a choice of where you want to go. I say a lot that there are very few bad times to take pictures in Rocky. Morning and evening are prime times to take photos.
The lack of lights in Rock Mountain National Park, make it a fabulous location for night, and star photography. Gathering and clearing storms make for some of the most dramatic pictures. And overcast and rainy days are good times to photograph rivers, streams, brooks, and almost all ‘running’ bodies of water.
No.1
So when photographing a stream, I usually plan for an overcast day, or the gentle light of morning or evening, to get the shots I want. I can not stress enough that “it is essential to have a tripod” to photograph waterfalls. Without a tripod photos will be worthless, or look like you took them on your cell phone. Unless this is the desired result “ALWAYS use a tripod.”
The primary reason why I would photograph a waterfall on an overcast day, or in the early morning, or late evening is because the sun even if not directly overhead causes glare. Midday glare on water when it is photographed, gives the water a rough metallic look that robs the luster of cascading water and, can make the nuance of gentle colors completely disappear.


No.2
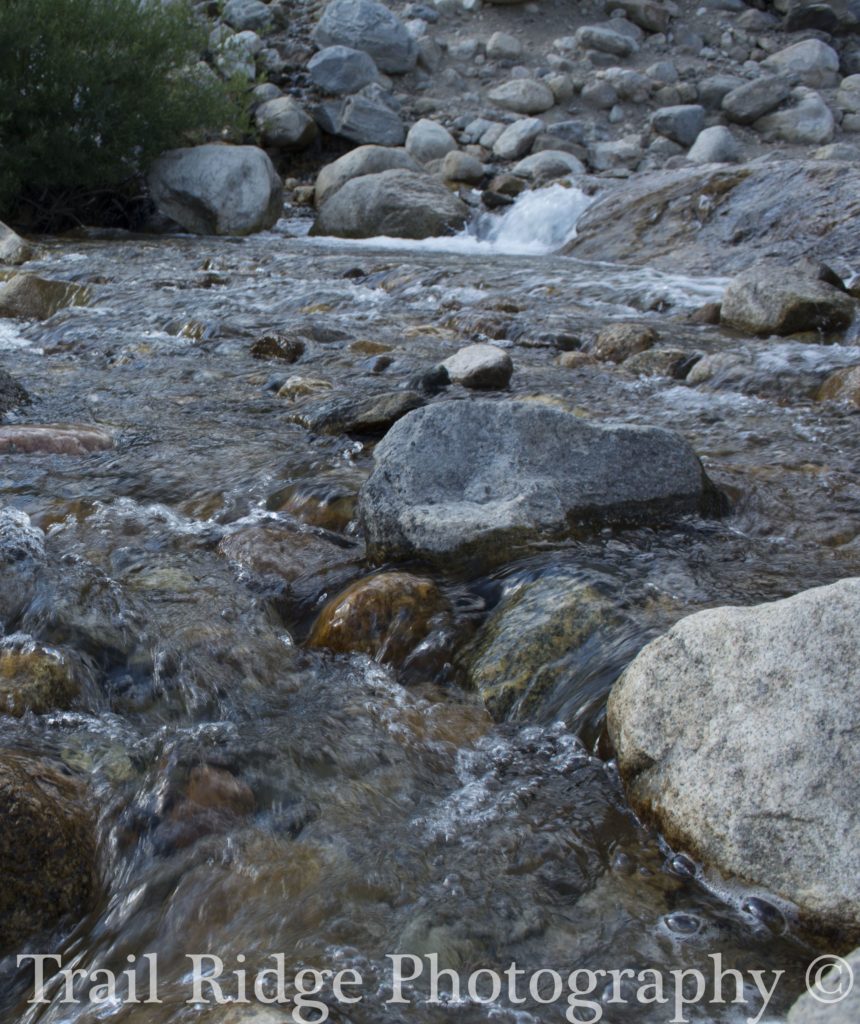
Now that you know what to avoid. Here are some things for which to look. Look for water that is not super deep you will want to avoid very deep bodies of water. Deep water when trying to photograph a waterfall reignites the glare problem. Look instead for breaking water; water breaking over rocks, water breaking over a drop (like a cliff). This will give you the white streaming water you want for your photos.
No. 3
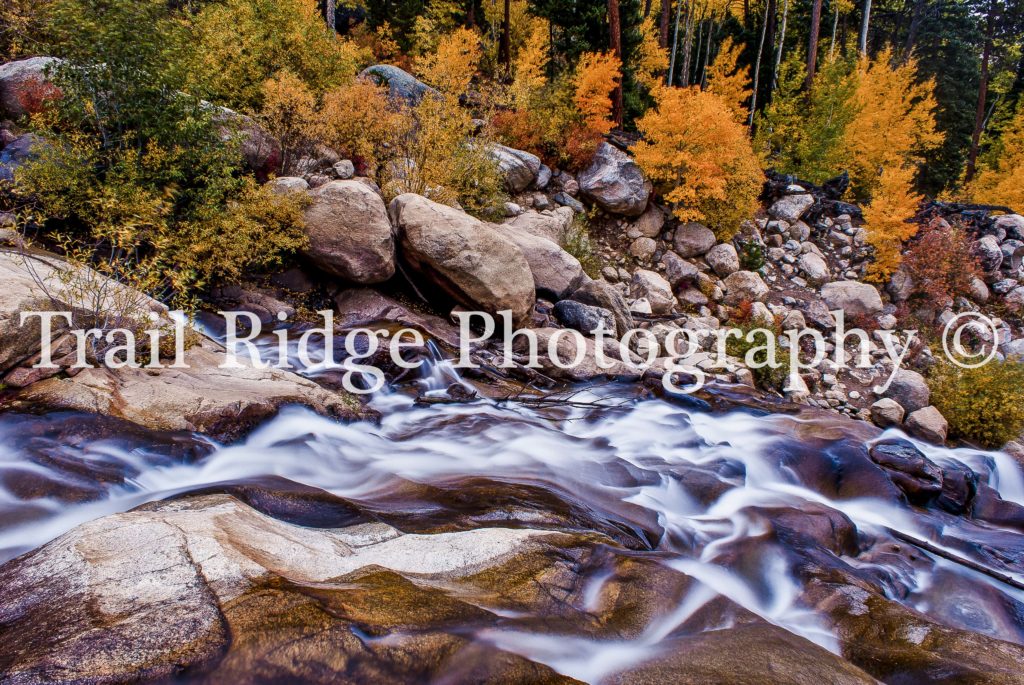
Next you will want to use an aperture from f.8 -f.16, f.11 or f.16 will probably be the best. These apertures should give you shutter speeds around 1/15 all the way down to 2″ or 3″ seconds, and crisp, tack sharp images (there is nothing quite like the sharpness of the texture of a rock contrasted by the blur of running water).
These speeds are perfect for giving the desired effect of giving the impression of motion to the water. A quick and fast rule that can be broken is that the more and faster the water moves the faster your shutter speed can be. The slower the water the longer shutter speed you need to capture its motion.
Finally
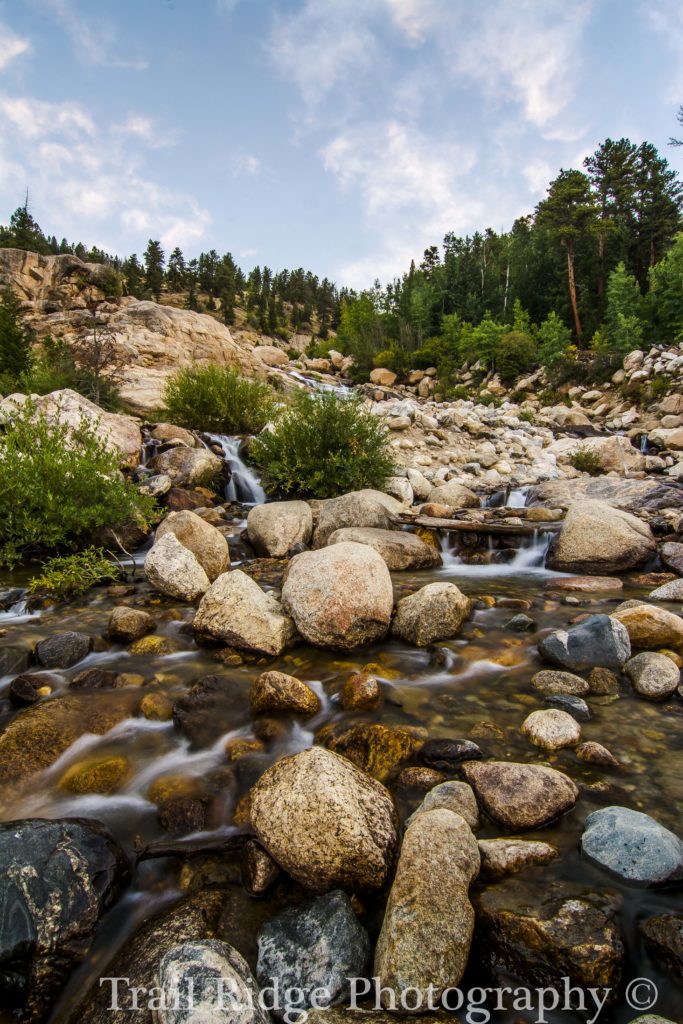
Do your best to elements in the frame balanced: don’t have a crowded corner of the frame and then a huge block blue sky with no detail in an opposing corner. Try to place something in the foreground of the image that is static and close to the camera this will give your photos a lot more depth and not give the viewer the impression that they are looking at a flat scene.
Aside from this, be friendly to other photographers, experiment with different settings and be creative, so you can develop your own photographic voice.
And Have fun
